开发日记 —— 记录对接苹果登录的坑
目录
最近在开发新项目时用到了 苹果登录、微信登录和订阅支付,由于是第一次对接以上内容,踩了不少坑,记录一下。
本文主要介绍苹果登录,我也会在之后的文章中介绍微信登录和订阅支付。
前言 #
之前我的APP中大多数是买断式的,用户可以使用一些基本的功能,如果需要高级功能,则需要付费买断。
这次介于新的项目的特点,我决定在买断的基础之外加上订阅支付,对我来说算是一种新的尝试吧。有了订阅同时也就意味着需要构建一个用户体系来管理订阅。
对于订阅支付来说用户体系更符合逻辑。但在调研过程中也发现有些APP没有做登录(用户体系)也依然有订阅支付,其主要还是依靠大部分IAP组件提供的恢复购买功能+本地验证接口实现的。但是这里面还是有一些坑,在下文会介绍。
正文 #
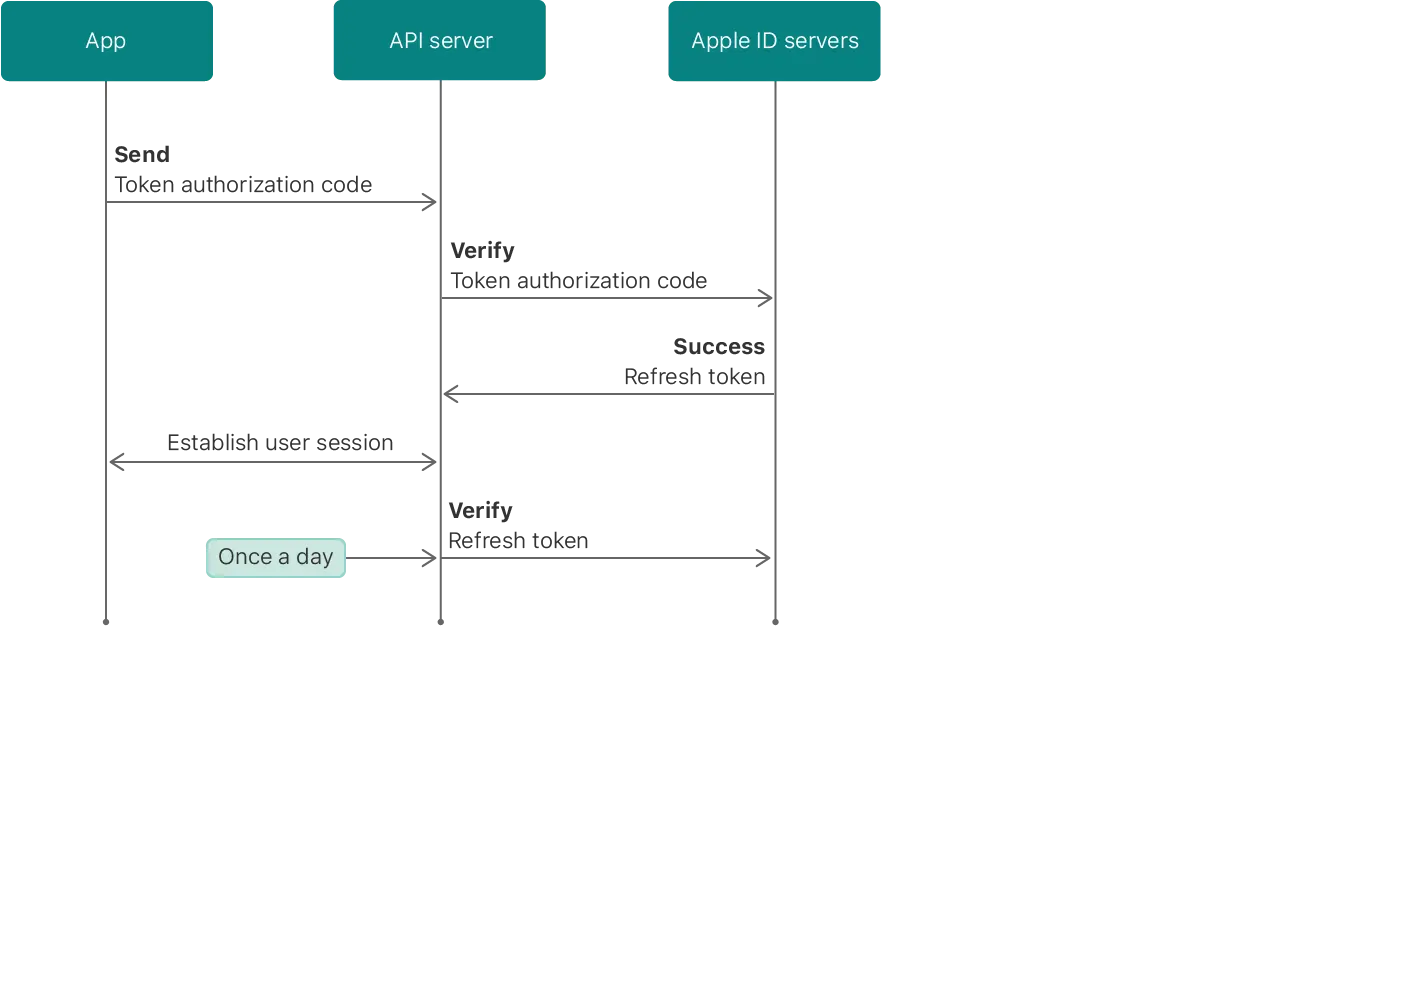
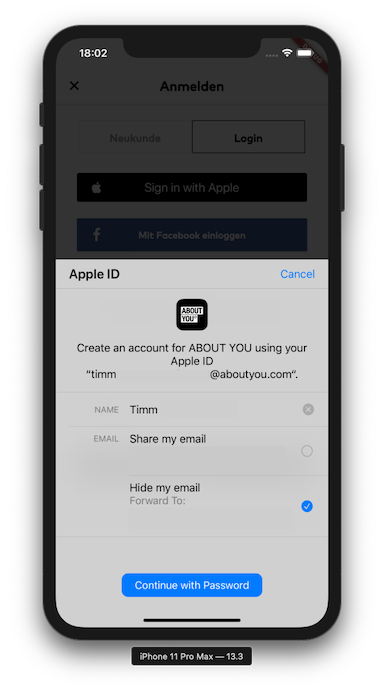
先看下完整的苹果登录流程:
1. 苹果开发者后台配置 #
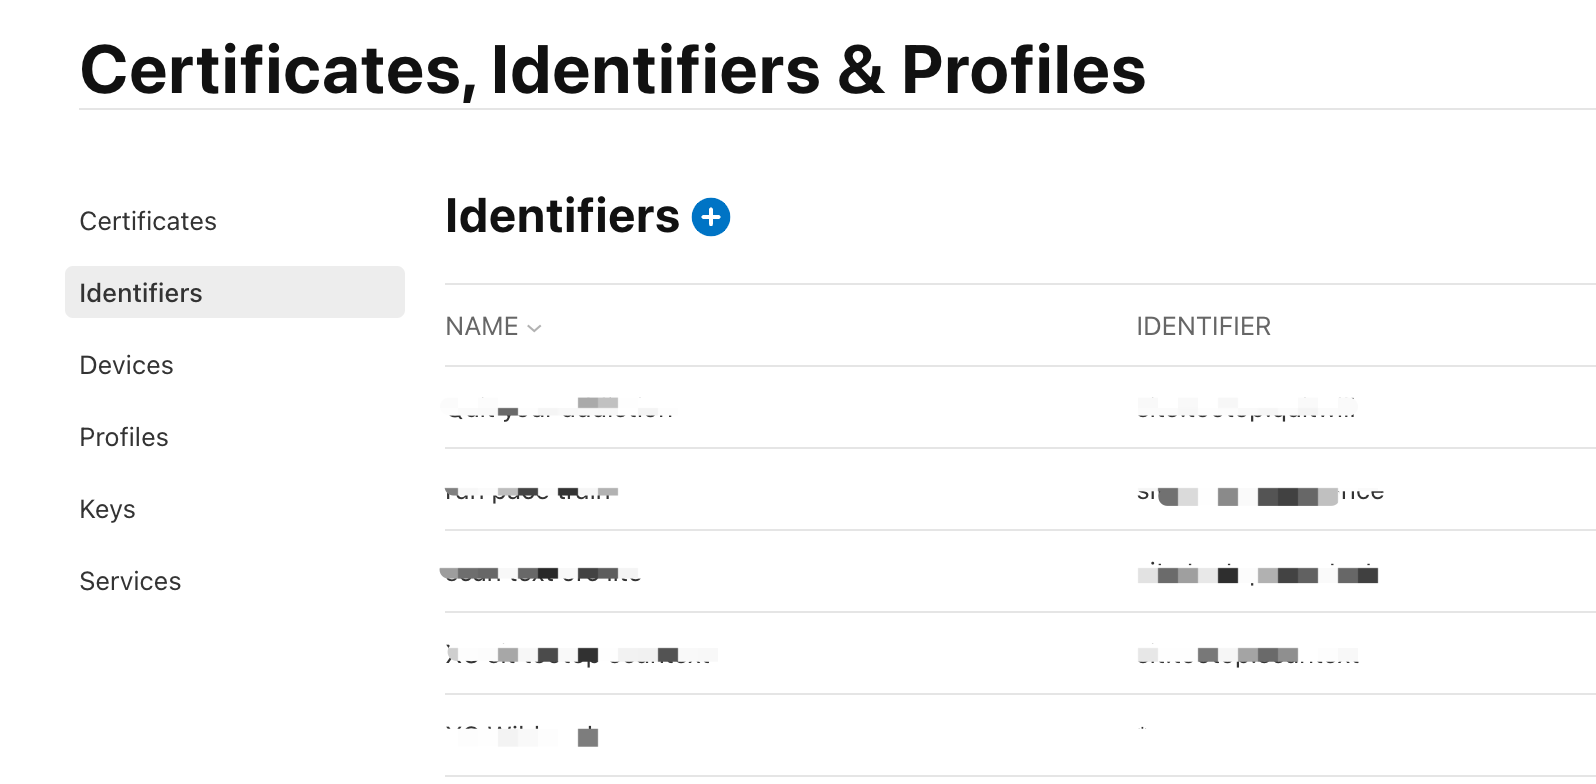
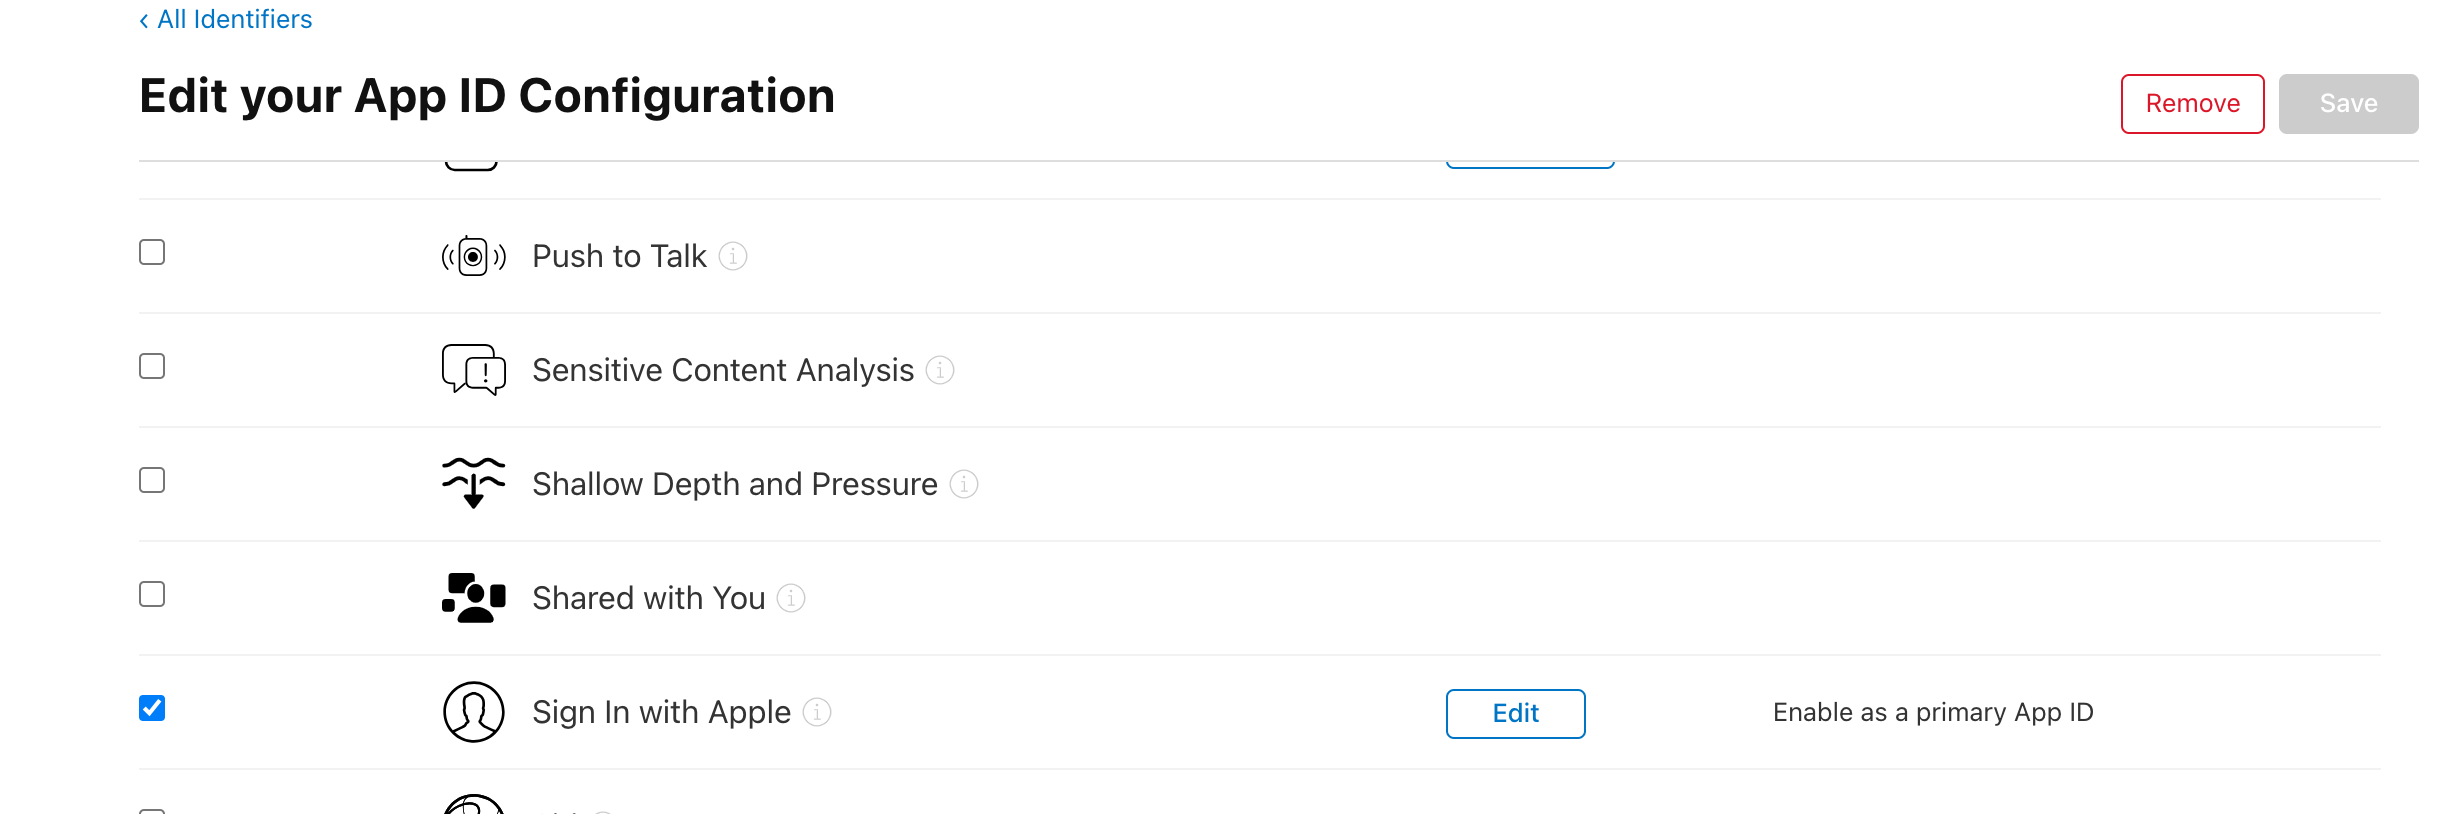
服务端需要的参数,可在苹果开发者后台设置。 设置App ID, 在 Capabilities 中设置 Sign In with Apple。
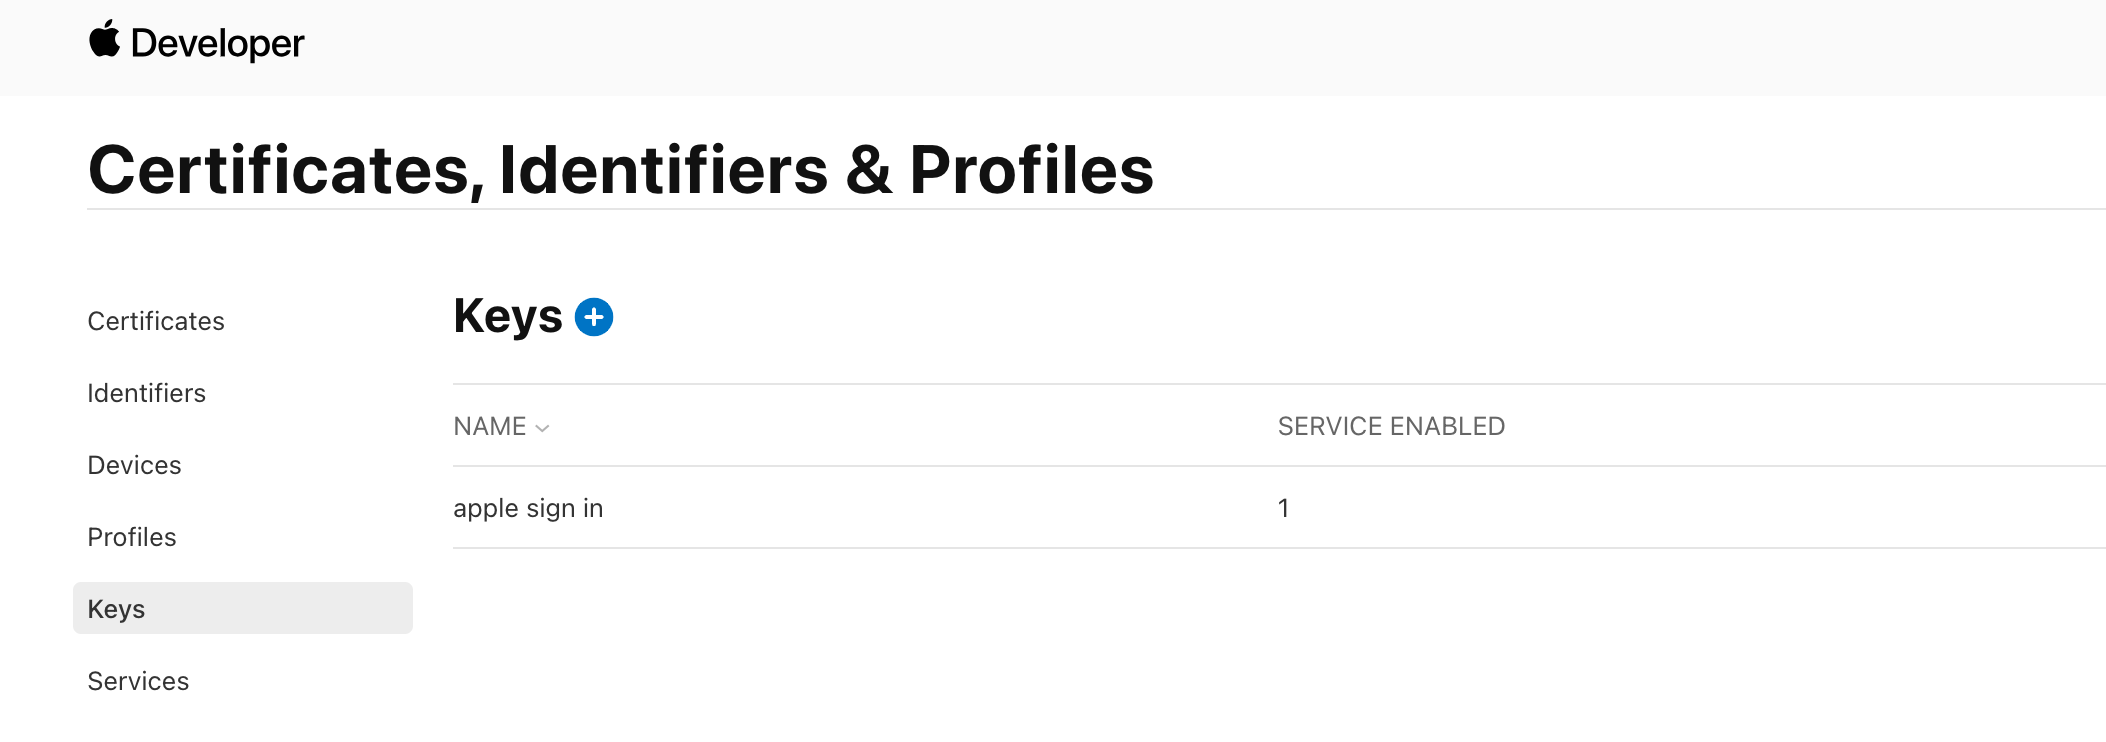
创建一个用来在服务端与Apple服务器交互的Key,并下载密钥文件。

2. 客户端配置 #
选择主流的Apple登录插件 Sign_in_with_apple。
dependencies:
  flutter:
    sdk: flutter
  sign_in_with_apple: ^latest_version
在登录按钮里调用方法:
final credential = await SignInWithApple.getAppleIDCredential(
                    scopes: [
                      AppleIDAuthorizationScopes.email,
                      AppleIDAuthorizationScopes.fullName,
                    ],
                  );
返回结果credential的结构如下源码:
/// Authorization details from a successful Sign in with Apple flow.
///
/// Most fields are optional in this class.
///
/// Especially [givenName], [familyName], and [email] member will only be provided on the first authorization between
/// the app and Apple ID.
///
/// The [authorizationCode] member is always present and should be used to check the authorizations with Apple servers
/// from your backend. Upon successful validation, you should create a session in your system for the current user,
/// or consider her now logged in.
@immutable
class AuthorizationCredentialAppleID {
  /// Creates an instance which contains the result of a successful Sign in with Apple flow.
  const AuthorizationCredentialAppleID({
    // 略...
  });

  // 略...

  /// An identifier associated with the authenticated user.
  ///
  /// This will always be provided on iOS and macOS systems. On Android, however, this will not be present.
  /// This will stay the same between sign ins, until the user deauthorizes your App.
  final String? userIdentifier;

  /// The verification code for the current authorization.
  ///
  /// This code should be used by your server component to validate the authorization with Apple within 5 minutes upon receiving it.
  final String authorizationCode;

  /// A JSON Web Token (JWT) that securely communicates information about the user to your app.
  final String? identityToken;

  // 略...
}
我们主要用到的是这样几个字段:
userIdentifier—— 苹果用户的唯一标识identityToken—— jwt加密的idToken,可以在通过接口获取出上面的userIdentifierauthorizationCode—— 配合secret,keyId,teamId,clientId可以获取到jwt加密的idToken
PS: userIdentifier 是用户唯一标识, 如果没有服务端则可以通过 userIdentifier 直接使用但不推荐。正确安全的方式通过服务端获取,就可以用第二或第三个字段。 服务端代码可参考这里: go-signin-with-apple。
3. XCode配置 #
打开ios目录,在Runner(文件浏览器侧栏)-> Targets-> Runner->Signing & Capabilities设置 Apple Developer Portal 中创建的“Bundle Identifier”
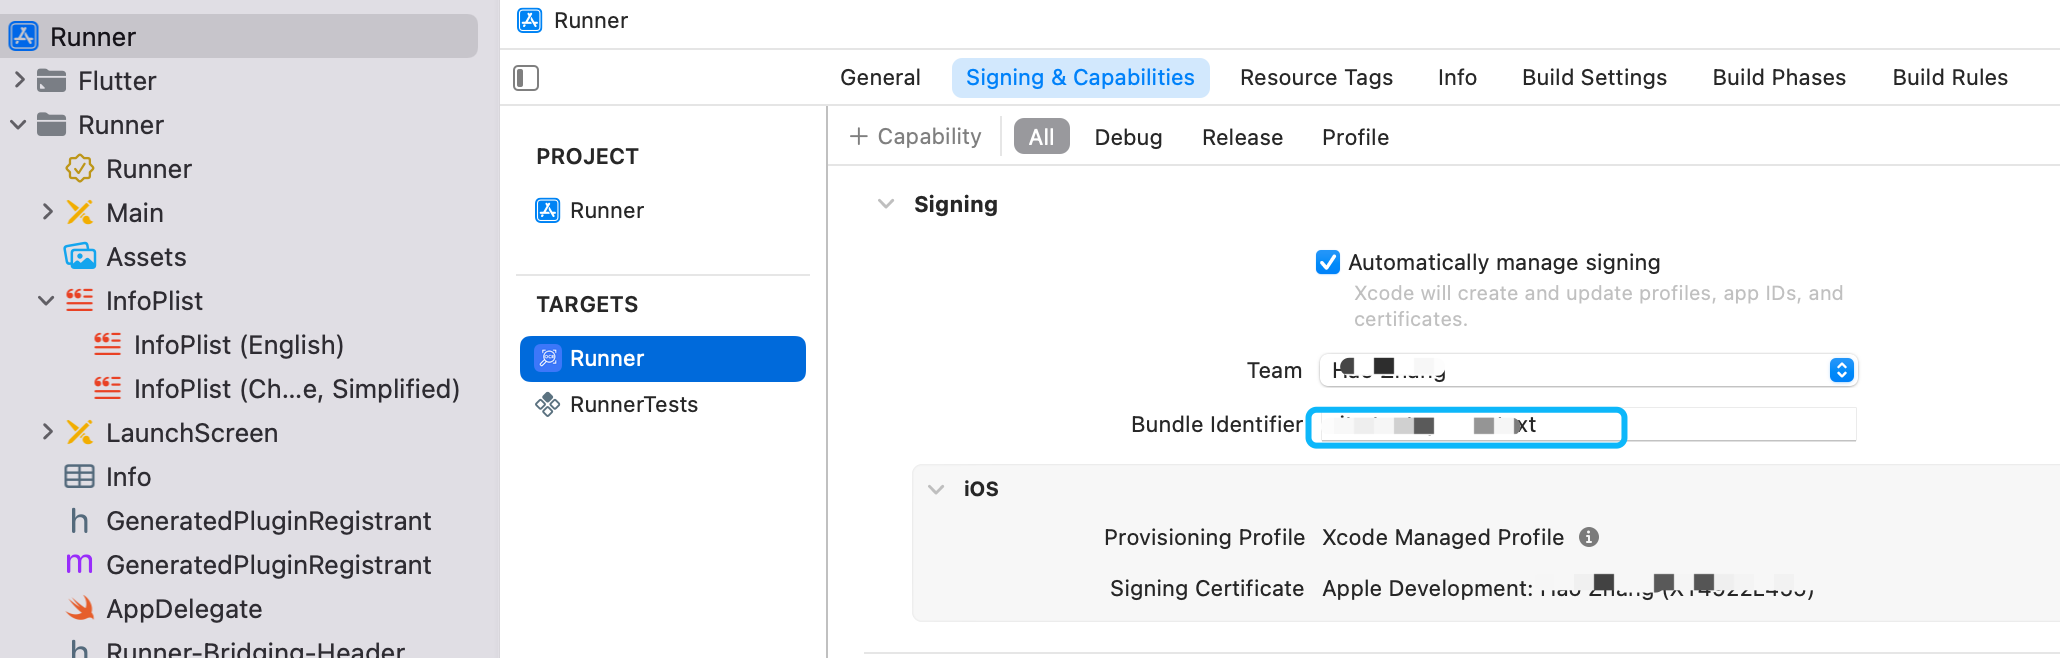
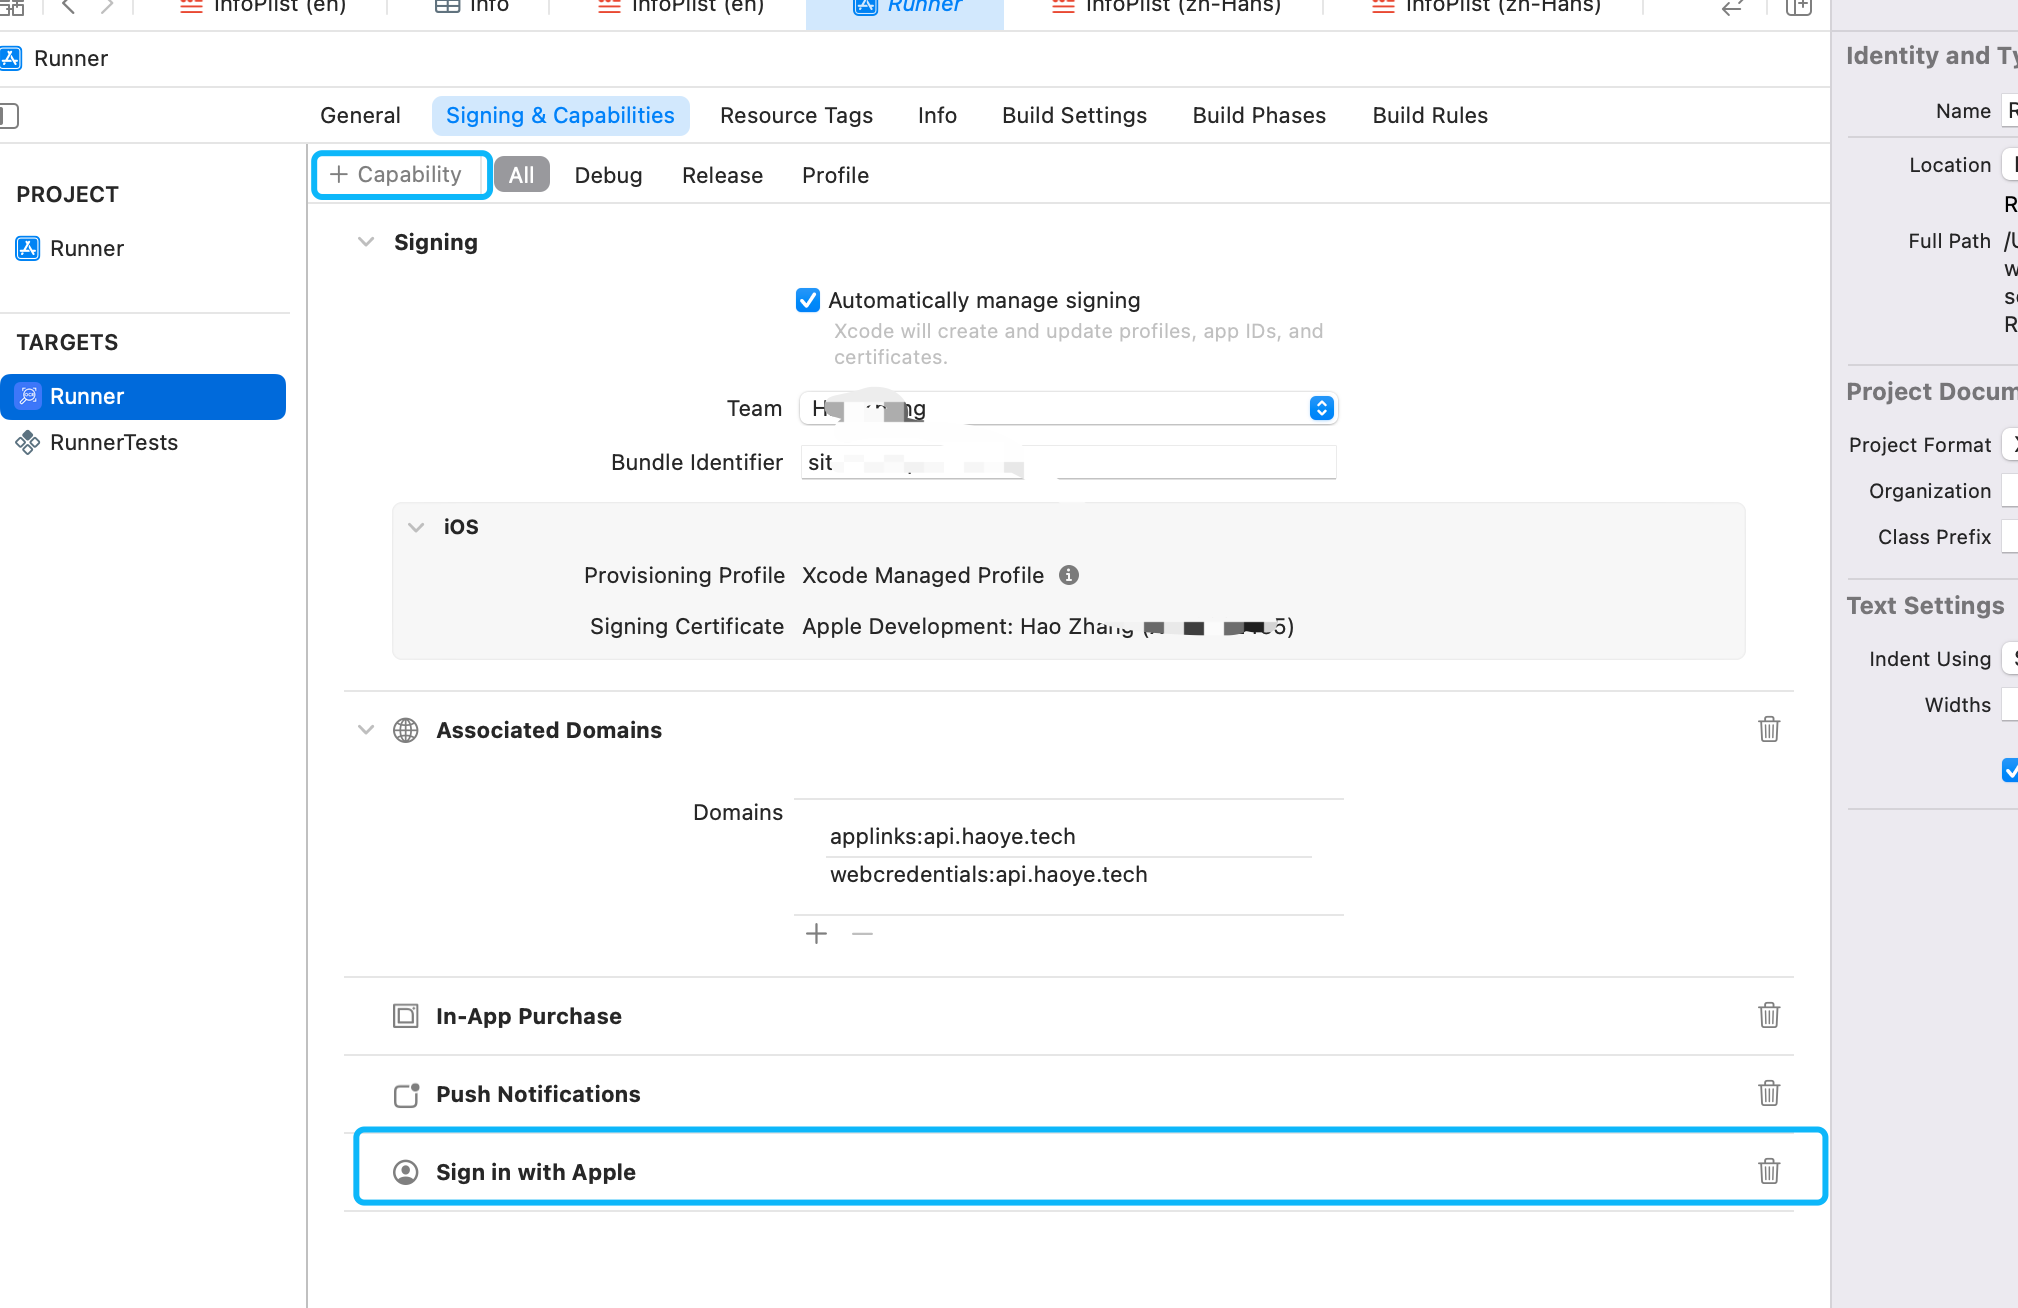
确保应用具有“使用 Apple 登录”功能(Runner(文件浏览器侧边栏)-> Targets-> Runner-> Signing & Capabilities),否则使用 Apple 登录将失败且没有视觉指示(代码仍会收到异常) )
4. 服务端验证 #
通过 authorizationCode 获取 userIdentifier
import "github.com/Timothylock/go-signin-with-apple/apple"

client := apple.New()

vReq := apple.AppValidationTokenRequest{
	ClientID:     clientID,
	ClientSecret: secret,
	Code:         "authorizationCode", // 客户端获取的 authorizationCode
}

var resp apple.ValidationResponse

// Do the verification
client.VerifyAppToken(context.Background(), vReq, &resp)

unique, _ := apple.GetUniqueID(resp.IDToken)

// Voila!
fmt.Println(unique)
通过 identityToken 获取 userIdentifier
unique, _ := apple.GetUniqueID(params.IDToken)

claim, _ := apple.GetClaims(params.IDToken)
解析后,claim["sub"]是userIdentifier, claim[aud]是BundleID。
最后,将userIdentifier和token保存到数据库中,以上是苹果登录的配置和流程。
